Sign with scanned signature
If you want to sign a document with a scanned signature, you can use Foxit PDF Editor or Adobe Reader.
Scanned signature via Foxit PDF Editor
Foxit PDF Editor is available on Athena..
- Open a pdf file via File > Open.
- Click the "Fill & Sign" tab and then the plus sign:
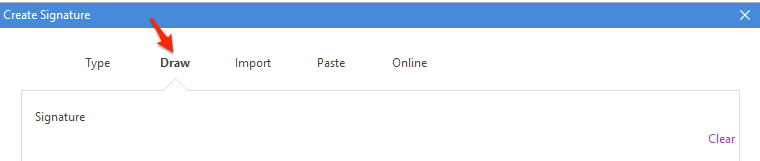
- A window opens. Choose 'Draw' to draw a signature with the mouse, choose 'Import' if you want to import a saved signature (if you don't share local folders in the Citrix client, you have to save the image on the H:-drive first) or choose "Paste" to paste an image with your signature. Then press "Save":
- Your signature becomes your cursor. Go to the location in the pdf where you want to place the signature and click.
- With your signature in Foxit, next time you can select it immediately via the "Fill & Sign" tab.

Scanned signature via Adobe Reader
Adobe Reader is the most widely used tool to place digital signatures, but it cannot be installed locally on Linux. The PCs rolled out by DICT do have Adobe Reader installed locally by default. You can also open the app via Athena if you no longer have it installed.
Importing a scanned signature into Adobe Reader is easy:
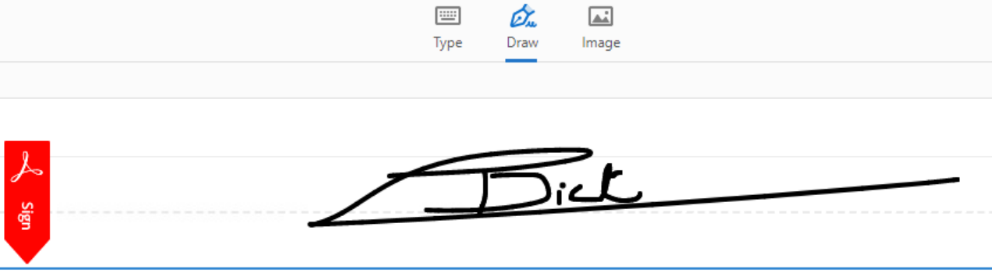
- Open Adobe Reader and click on the 'pen icon'.
- Then click on 'Add Signature'
- A new window opens, where you can choose to upload your scanned signature (Image), draw your signature with the mouse (Draw) or simply type in your name, where your name appears in a handwritten font (Type).
- Done!